


How to Make Your Own Baby Shower Banner

Did you know it is really easy to make your own baby shower banner? You can make one to go with your party theme by using a simple editing program on your computer and some scrapbooking paper.
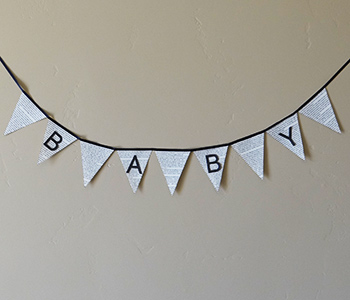
This tutorial will walk you through the steps to make a circle banner, but you can use the same idea to make a pendant or square banner for your party.
The templates I created were made using Microsoft Word. But you can use any other editing program like photoshop or open office to make similar templates to use.
To make your own template, open your Microsoft Word. Select the insert option at the top. Then on the top menu, select shapes and then oval. Click on your page so the oval shows up in the document. Then go to the top right of the menu.
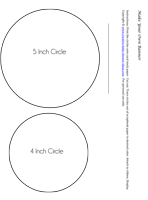
It will have an option for you to put in the height and width for the size. Put in 3 under both and your oval will turn into a 3 inch circle.
Print it out on to cardstock and you have a perfect template to use for your project. Need a different size? Just change the height and width dimensions to get the right size for your shape. I created free circle templates that you can download and use for this project.
To make your letters, you can do a couple things. You can type your letters in Microsoft Word and print it onto cardstock paper. Then just cut out each letter to use on the banner.
Another idea is to use an alphabet letter template to trace it onto the colored cardstock you would like to use.
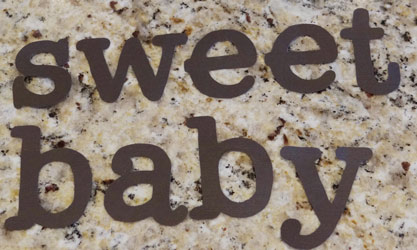
If you have a cricut or silhouette machine, you could also cut the letters straight from your cardstock paper. I cut these letters with my cricut machine and they are 2 1/2 inches tall.
How to Make A Baby Shower Banner
You will need:
- circles template- printed and cut out
- scissors
- a pencil
- glue stick
- hole puncher
- scrapbooking paper- 3 to 4 different color patterns
- letters for your banner
Create Your Banner:
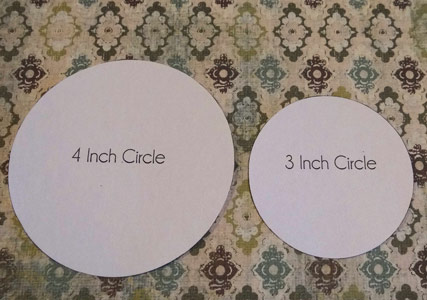
Begin by laying out your templates and deciding your pattern. I used the 4 inch and 3 inch circles on 3 different colors of scrapbooking paper to make this banner. The main colors of my pattern were brown, blue and green. I wanted to give it a vintage look, so I chose vintage like patterns that complemented each other.

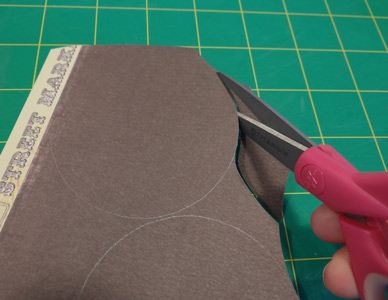
Flip over the paper to trace the circles so the pencil marks will not show. Trace your circles and cut everything out. If you have a lot of circles to cut, you can buy a circle punch or a circle cutter like this one to cut the circles out quicker. It is the one I use and it cuts circles up to 6 inches tall.
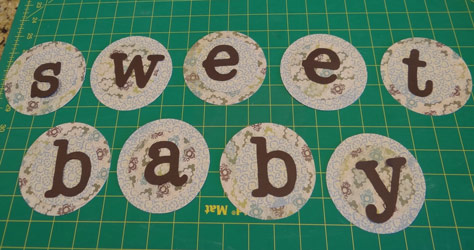
Once I had everything cut out, I stacked the designs and then glued them in place with a glue stick. One thing to watch out for if you have patterns on your paper is to make sure they are all going the same direction before you glue them. :-) Luckily I remembered this time, but I have made this mistake in the past. ;)

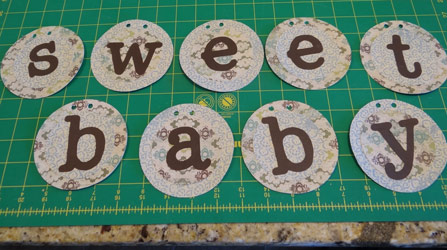
Use your hole puncher to punch 2 holes at the top of each circle.
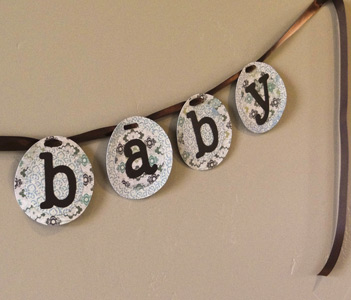
Then thread your ribbon through each circle until all circles are in place for your baby shower banner. I used brown satin ribbon for mine. As you thread through the circles, make sure the ribbon does not get twisted and that the front of the ribbon is always showing.
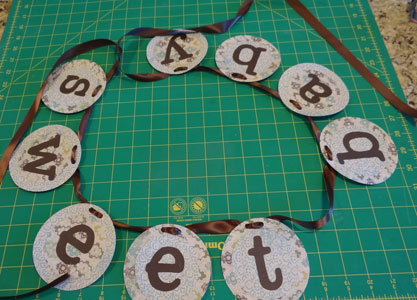
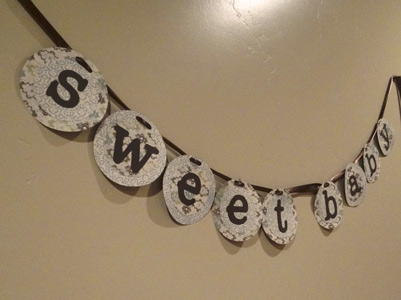
Here is a close up of the finished design. I love how it turned out!


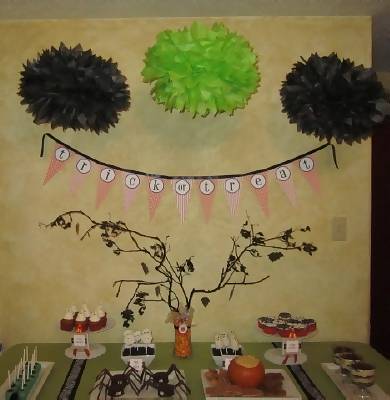
Some more party banner ideas:


New! Comments
Have your say about what you just read! Leave me a comment in the box below.