


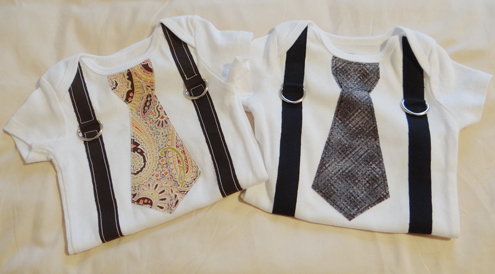
Baby Tie Onesie Tutorial
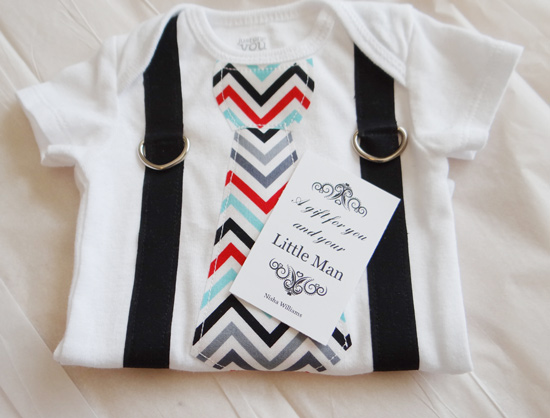
It seems everyone I know right now are having baby boys! It has given me lots of opportunities to make fun and adorable baby gifts to share with you. :-) The baby tie onesie is the perfect outfit for a little man.
As a mom to 3 boys, my life is surrounded by trucks, mud and superheroes. So I get really excited when I see little boys clean and dressed up. That is probably why I love these outfits so much. If you love this outfit, make sure to also check out my bowtie onesie tutorial.
This tutorial uses a sewing machine to secure the baby tie and suspenders, but if you do not have access to a sewing machine, you can do the baby tie with little effort using a hand applique method I explain here. Ready to make it? Let's go!
Baby Tie Onesie:
You will need:
Baby onesie
Material for tie
Material for suspenders
Thread to match your material
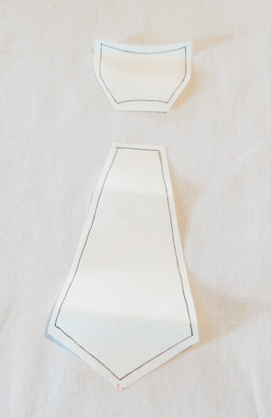
Tie and Suspender templates (see below)
3/4 inch D rings
Heat'n Bond Lite
Dritz Fray Check.
Sewing machine
Prep: Before starting, wash and dry your material to make sure it does not shrink after you sew it.
Open up your heat'n bond paper and lay it own smooth side up over the tie template. Trace the bottom and top part of the tie shape onto the paper.

Cut out the template, being careful to leave extra paper around the lines.
Iron your material pattern side down. Line up the tie on the material so that the pattern is centered and the top and bottom of the tie line up. Iron template to the back of your material, holding the iron over the paper 6-8 seconds to make sure it has had a chance to activate the paper.

Allow paper to cool. Cut out the tie shape on the lines. Peel the paper backing off the back of your tie material.
At this point, you want to use your secret weapon to make sure the material does not fray. It took me a few tries to figure out how to give sharp lines to the edges. Since the edges are not folded over, they will want to fray to the sew line. Fraying material is not pretty! That is where Dritz Fray Check. comes in. You just need to spread it along all the edges of your cut material and allow to dry. Then your edges will be fray free! Yay! Okay, back to the tutorial...

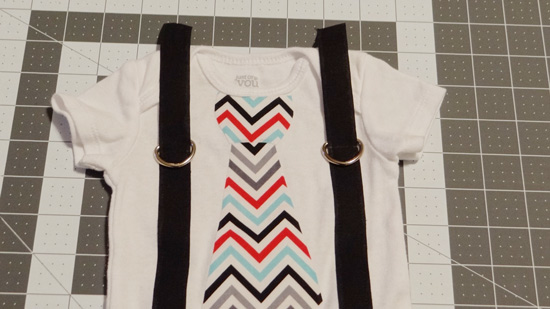
Fold your onesie in half lengthwise. Pin a few pins down the middle so you have your center point marked. Line up your baby tie in the center of the onesie. The point on the tie should perfectly line up with your pins. The top of the tie will slightly overlap the bottom part by about a 1/4 inch. Pin in place.

Sewing the Suspenders:
Repeat the tracing steps above with the suspenders template. I created a basic suspender shape that is 3/4 inches wide to match the D rings. The length of the suspenders will depend on the size of your onesie. I did about 13 inches on my 3 month and 14 inches on the 6 month onesies. You just basically need to make sure there is enough material there to tuck under the top flap and go to the bottom of the onesie. Feel free to make your own rectangle with the length you would like on your paper. The template is just there to make the math easier for those would like to use it. ;)
Remove the paper off the back of the suspenders and use the Dritz fray check on all the edges. Line up the suspenders on the onesie so that they are equally spaced around the tie. Once you are satisfied with the positioning, iron the bottom part of the suspenders and tie to hold them in place. I only go up maybe half the tie with the iron. Once the bottom part is in place, line up the spot on the suspenders that you want to place the D rings and mark the spot with a fabric marker or pencil. Since the D rings are not attached yet, you do not want to go up any further with the iron yet.
Set up your sewing machine with the thread for the suspenders. You will be sewing a normal straight stitch 1/8 inch from the edge of the suspender material. I started at the bottom of the onesie and sewed up to the line I made for the D rings then back down to the bottom again. I placed my sewing needle in the down position to make it easier to pivotaround the corners. Make sure to backstitch the beginning and ending of the sewing to lock in the stitches! :-)
Slide your D rings onto the suspenders and line up the top of the suspenders with the rest of the onesie, tucking the top part of the suspenders under the top flap. Once everything is lined up and in place, iron in place, making sure the D rings remained lined up with each other.
As an extra precaution to make sure the D rings don't move much, I move my sewing machine needle as far as I can to the side and backstitch as close as you can get to the D ring.
Move the needle back to the center and starting at the top, under the flap section sew down with the same stitch as the bottom suspender. Sew 1/8 inch from the edge all the way around the material to secure it in place (see template).
Sewing The Baby Tie in Place:
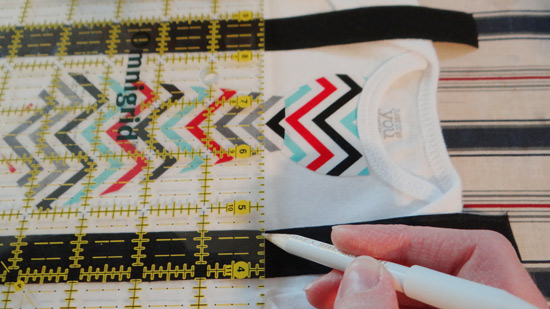
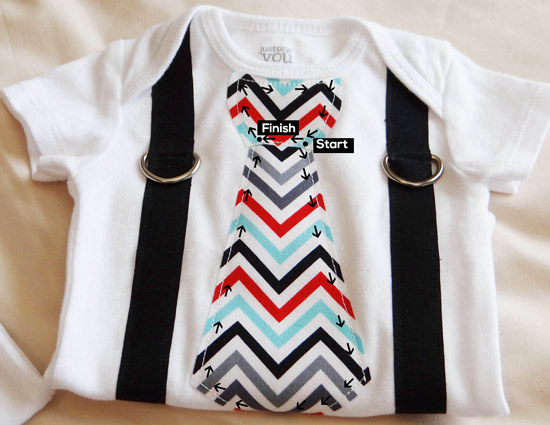
Almost done! After sewing the suspenders, you should be a pro at sewing. To finish the onesie, you will need to sew the tie on. Since the stitching will show up a little with a patterned tie, it is important to make it as clean as possible. I decided to start the stitch right were the tie overlaps and then go all around the tie, finishing on the other side of the overlap. That way I am not criss-crossing all over the place. See the arrows in the photo below. This is why it is important to have an overlap when you line the tie up together. The stitches will be the same as above, 1/8 inch from the edge of the material and the needle in the down position.
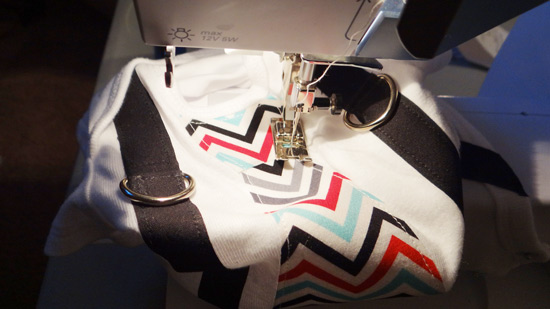
A little late night sewing. Lol! The lighting is not great, but it gives an idea on the lines I followed while sewing.
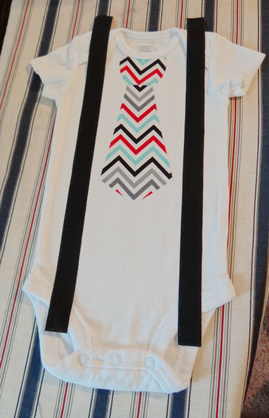
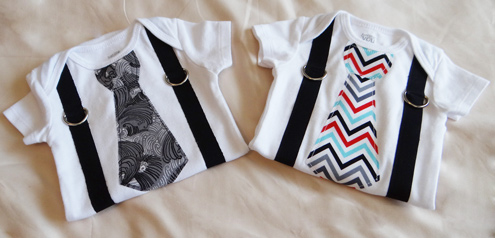
 That is it! An adorable custom baby tie onesie of your very own! I hope you enjoyed our tutorial.
Download the template for the baby tie onesies below by clicking on the image. NOTE: The 2nd page is set at legal paper, just in case you want a template for the suspenders. The length will be 13 to 14 inches long depending on the length of your onesie, and that didn't fit on a letter sized paper. If you just want to print the first page, that is set as letter sized. ;)
Return to Baby Shower Ideas Home


New! Comments
Have your say about what you just read! Leave me a comment in the box below.