A Teddy Bear Cake Photo Gallery
Check out our photo gallery of teddy bear cakes. Our readers have shared hundreds of cakes with us to create the best photo gallery with you. You can also add your photos by submiting them here.
Enjoy!
Teddy Bear Index
Why should you buy a cake pan on eBay?
- Why pay full price if you will only use the cake pan once or twice?
- You don't need to worry about being burned. The seller rating speaks for itself.
- Great selection! Chances are if the cake pan exists, you will find it on eBay.
Teddy bear photo submitted to gallery by:
Ginger P. from St. George, Utah
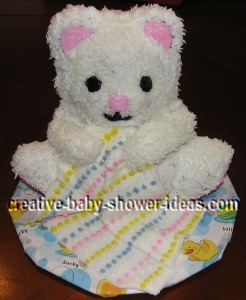
I made this teddy bear cake for a friend's baby shower. She decorated the baby's room with teddy bears so I thought this would make a fun centerpiece. I used Wilton's cuddly teddy bear mold and used a yellow cake and a pound cake mix. Decorating it was the best part! The fur tip was really fun to use. The blanket is made out of fondant. I decorated it with different frosting design tips to make it look like a baby quilt. Everyone at the baby shower loved it.
Photo submitted to gallery by:
Michelle W. from Gainesville, Virginia
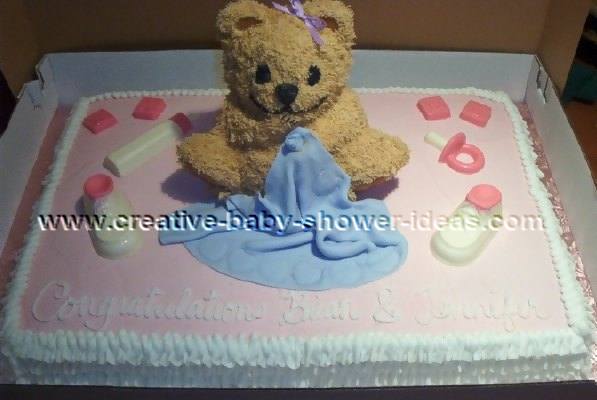
This is a baby shower cake I created for a teddy bear themed shower for a girl. I wanted to make something special that included some of baby's things like the baby booties, blanket, pacifier bottle and most importantly the teddy bear! I baked 2 11x15 inch cakes (1 yellow and 1 chocolate) and then placed them next to one another and iced it as one giant sheet cake in pink buttercream with a buttercream ruffles on the sides.
Next I baked a cake in a teddy bear shaped pan and decorated it with a decorating tip (normally used for the look of grass) to create the look of fur on the bear. I then colored with food coloring some rolled fondant and rolled it out to design a blanket, cutting wavy edges with a paring knife. Using a heart shaped cookie cutter and another decorating tip, I was able to make imprints like embroidery on the blanket. Next I hand poured white chocolate (some of it colored pink) into baby themed molds to create the booties, pacifier, baby blocks, bottle and other accessories. Everything is edible! The mom to be absolutely loved this cake and I loved making it for this joyous event.
Teddy bear photo submitted to gallery by:
Patty J. from Lapeer, Michigan
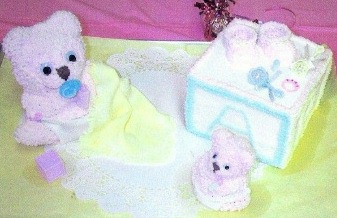
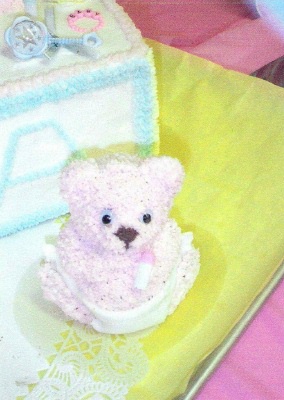
Instructions for cake located here.
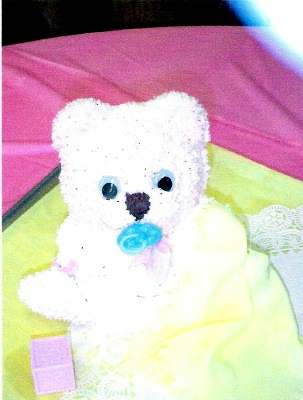
Photo submitted to gallery by:
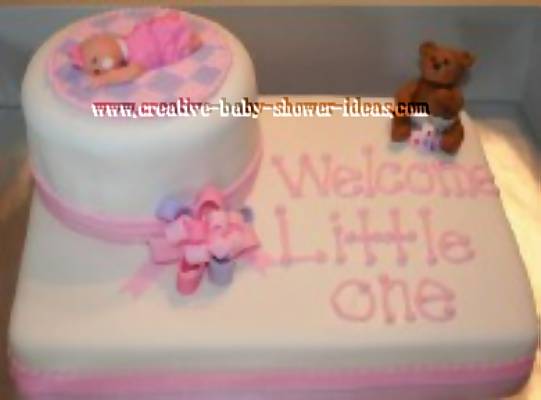
Cindy V. from Frederick, MD
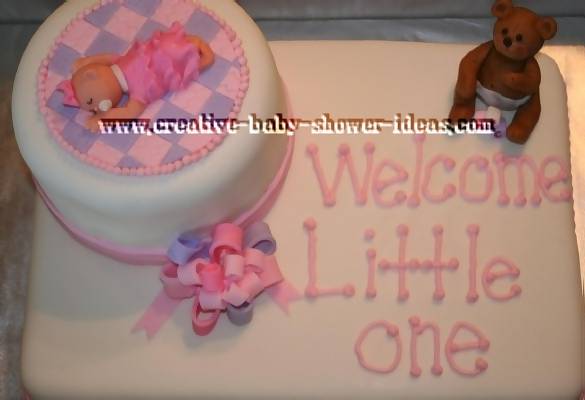
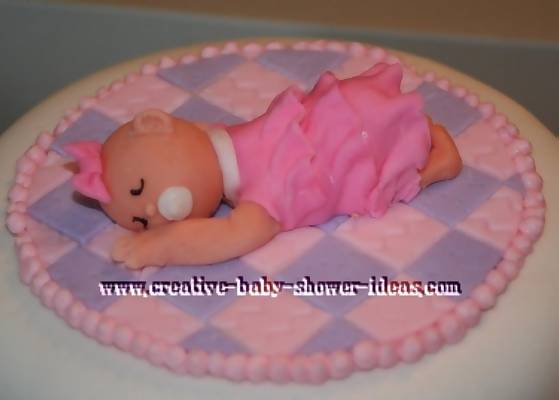
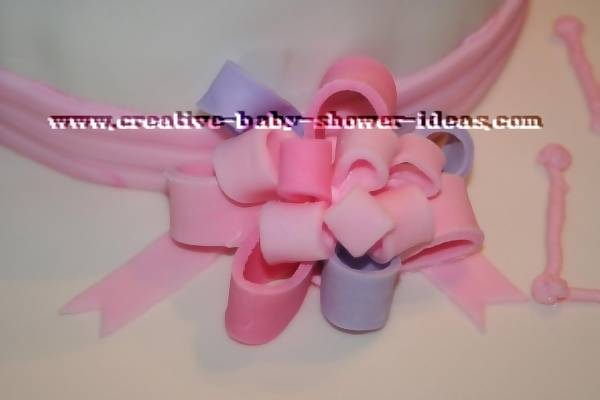
This cake was for a family member. I came up with the idea on my own. We didn't have a theme for the shower, but we knew it was a girl. This is an 11x15 sheet cake with a 6 inch round cake in the corner. I baked and frosted the cakes with butter cream icing, then covered with Satin Ice fondant. Before you stack the cakes, you must put wooden dowels under the smaller cake so that is doesn't sink into the cake underneath. All of the decorations are made out of gum paste. They are all free hand, I did not use any molds. For the quilt I cut out squares of gum paste and then glued (gum paste powder and water) them to a piece of cardboard. After placing the quilt onto the top layer I piped royal icing beads around it.
Teddy bear photo submitted to gallery by:
Christy P. from Tucson, Arizona
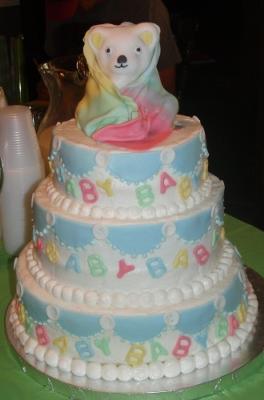
This is a 3 tier with mini teddy bear baby cake I made. The sex of baby was unknown.
This vanilla mini bear cake was covered in white fondant. The bottom layer is a 10 inch chocolate cake iced with white buttercream. The middle layer is an 8 inch vanilla cake filled with lemon filling - iced with white buttercream. The top layer is strawberry cake filled with fresh strawberries - iced with white buttercream frosting.
The decorations were made from Wilton's pastel color fondant. The blue on sides are circles cut in half and placed around cake with buttercream piping. The buttons are small circles. Letters were cut out with metal cutters.
Teddy bear photo submitted to gallery by:
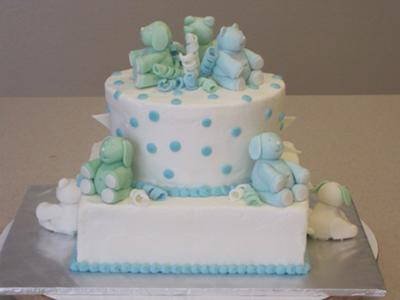
Andrea from Eastvale, CA
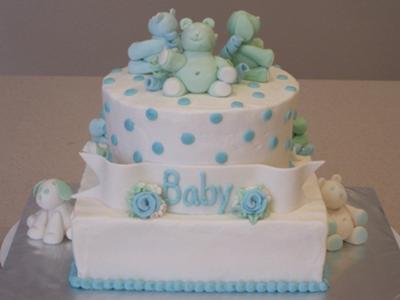
I made this cake for a baby boy. It is a stacked cake with chocolate, buttercream filling and frosting. All of the accents including the characters were made from fondant.



New! Comments
Have your say about what you just read! Leave me a comment in the box below.